While I was at Dragon*Con this past September, browsing the dealers, I came across a booth for Hey Cut Sew, a new indie pattern making operation. After talking to them for a while and looking at the available designs, I was quickly smitten with their product and bought a pattern for myself. And why was I so smitten? Because Hey Cut Sew's whole message of simple and easy in a cute and colorful package is kind of my jam, and spoke to me on a deep personal level.
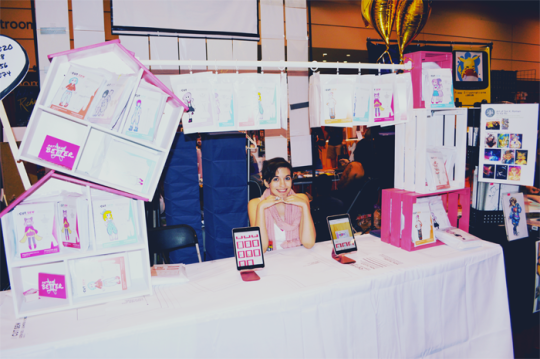
_Cute booth pic from Megacon 2016 via [tumblr](http://heycutsew.tumblr.com/post/145218987202/snapshots-of-our-cutsew-megacon-2016-booth). Alas, I did not have the foresight to take booth pics._
I remember when I first started sewing; it was when I first started getting into cosplay. I remember being like 11 and having my grandmother help me make a Sailor Jupiter costume for Halloween. At the time I was getting interested in sewing and making costumes for myself, that long ago Halloween was my only experience, so pretty much everything I knew I gleaned from the internet. I remember trying to paw through forums and other cosplayers' blogs, trawling for tutorials, looking for info on how to make pretty much anything and everything. For that reason, I still consider myself a beginner seamstress -- I've been sewing simple straight seams and rolling hems for a few years but a lot of more complex techniques (or even just techniques, period) are still a little out of my reach.
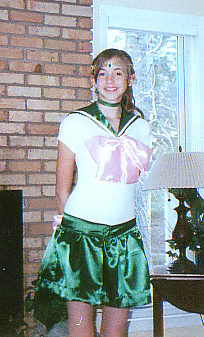
_Hey man we all gotta start somewhere_
Hey Cut Sew is all about being accessible for people of all skillsets, and bringing clear patterns and instructions to the people, instead of the somewhat more complex patterns currently offered on the market with lots of sewing jargon and less than decipherable instructions, particularly to newbies.
The style of their patterns are pretty diverse; they're split between super cute wearable looks, and stuff that could easily be used for cosplay, like a good all-purpose seifuku pattern, a flight suit pattern, and a few magical girl looks that would be easily adaptable to oh, say....perhaps Charlotte from Madoka Magica or....a Sylveon Gijinka? The possibilities are endless!
Honestly, what drew me to their booth to begin with (besides the bright colors) was their seifuku pattern. Again, I remember feeling totally f*cked (cough ahem did I say that?) when I wanted to cosplay a character with a long sleeved seifuku, but could only find tutorials other cosplayers had made online for short sleeves. I'm sure that sounds like no big deal, but if your sewing experience is literally nil, it's still scary. I ended up bluffing it, and it came out fine, but had I had a pattern like this a few years ago, my life would have been a lot easier.
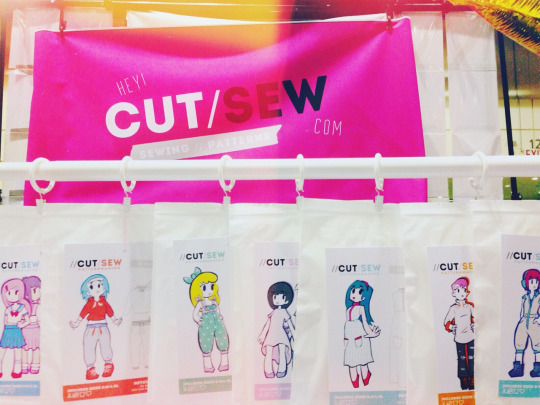
_Another photo from their Megacon 2016 booth, showcasing some of their styles, via [tumblr](http://heycutsew.tumblr.com/post/145218987202/snapshots-of-our-cutsew-megacon-2016-booth)_
So I'm here to write about my experience using a pattern by Hey Cut Sew, and to pass that knowledge onto you!
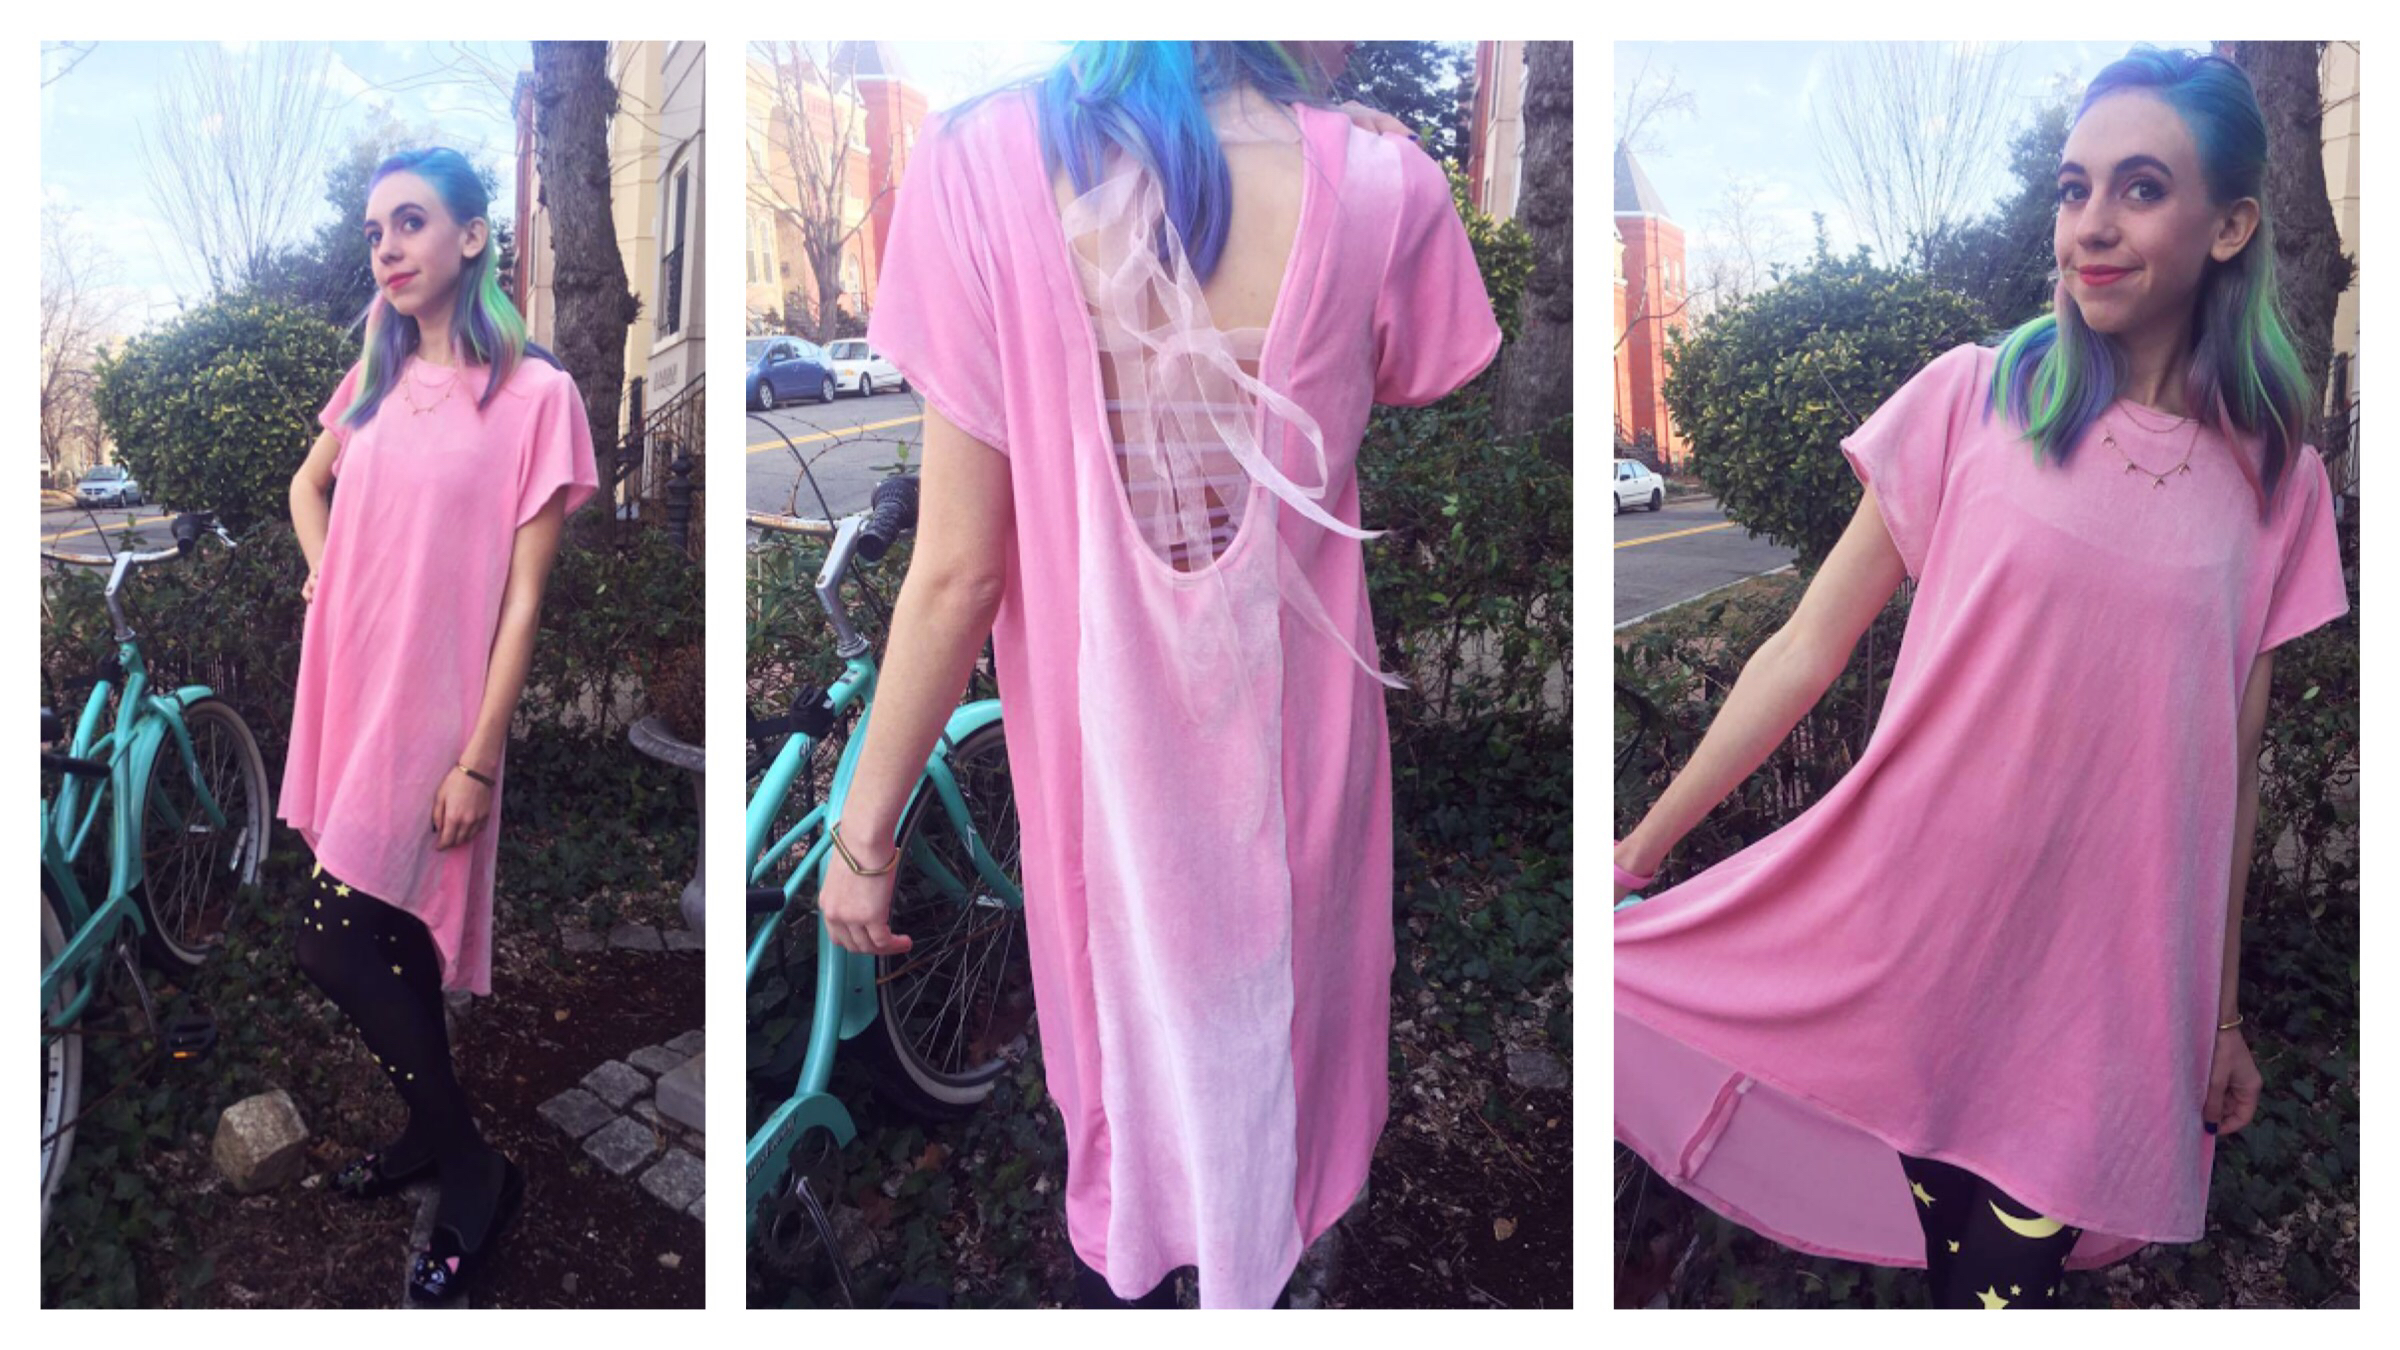
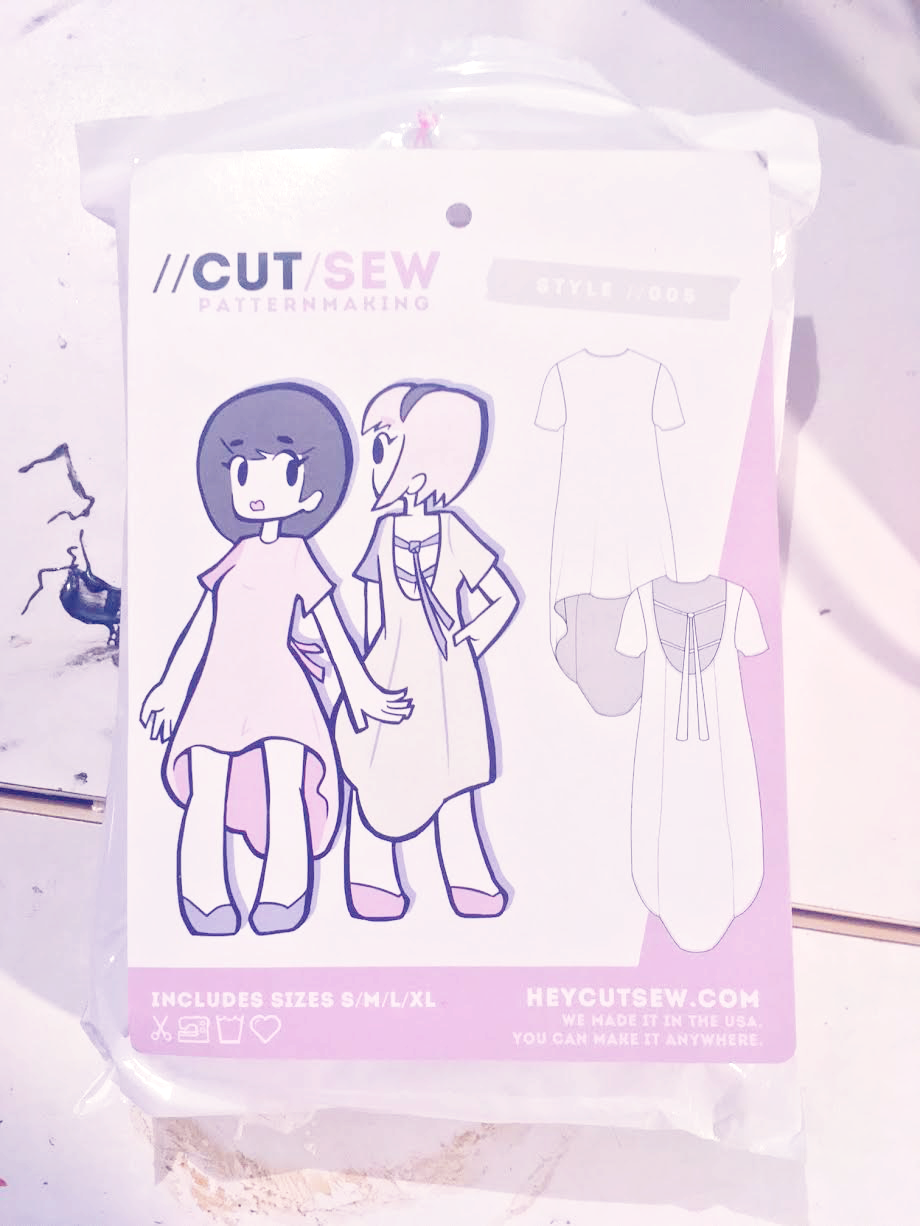
Firstly, I'll start with the basics. I chose pattern 005, Ribbon Shirtdress, because it looked cute and simple, like something comfy I could make and get a lot of wear out of.
_Please disregard my gross craft table for the rest of this post_
The packaging was a super neat idea, and I'm really into it. Instead of a brittle envelope, your pattern comes in a plastic ziploc bag. The label for the pattern is a card attached to the front. The card is easily removed for reference (I took mine to the fabric store with me to pick up notions and such) and fits easily back inside the bag. Both the bag and the pattern itself are totally useable and reusable, which was a stated goal of the creators and another big selling point to me--but I'm getting ahead of myself.
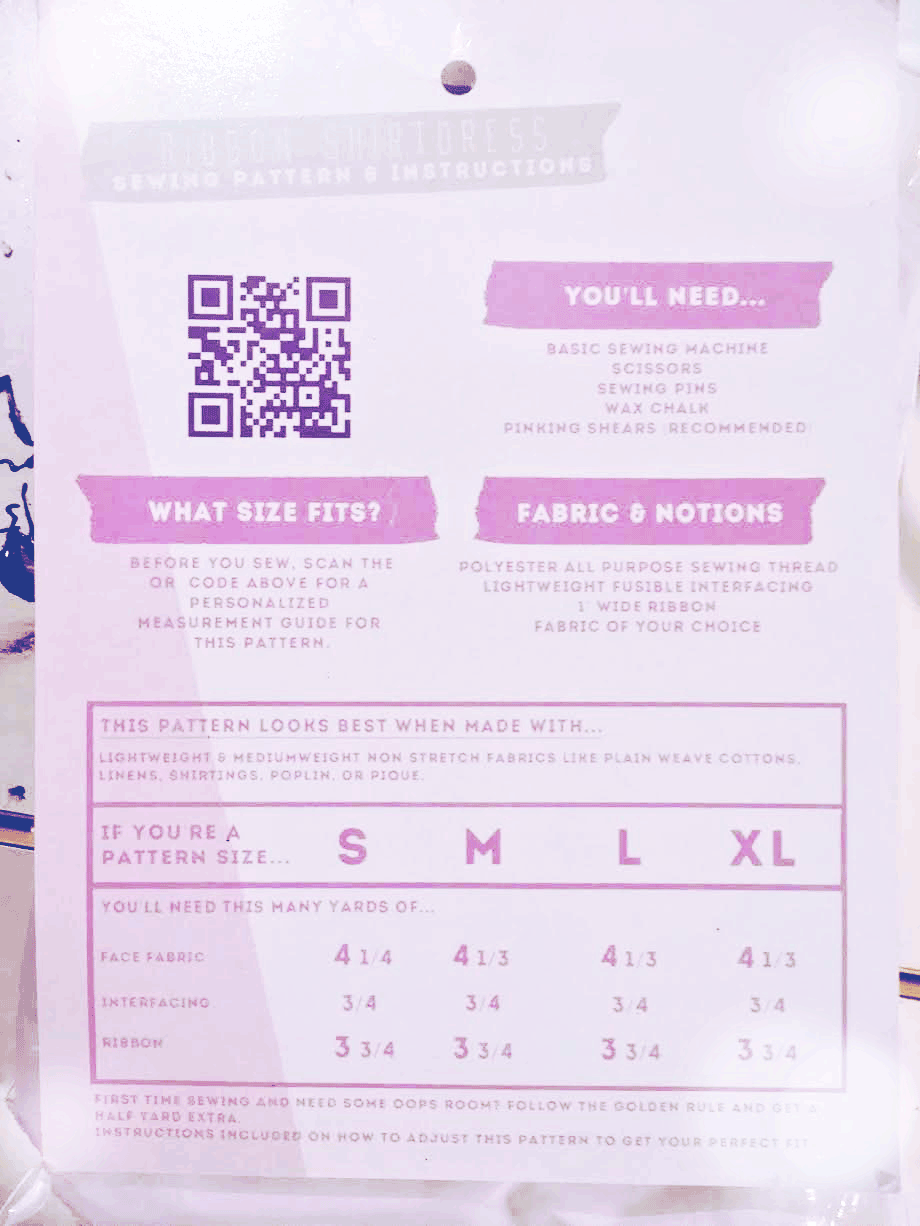
Back to the card...on the reverse there is a list of supplies and notions needed for the project ahead of you. There's something that's probably immediately noticeable, and that's the big QR code in the corner there. That's your sizing guide! You're probably wondering how this works, so I'll walk you through it.
So, if you scan the QR code it takes you to a personalized sizing guide! Personally, sizing in ANYTHING for women kinda pisses me off, but patterns are just crazy. I get so confused when all my clothes range from between a size 0 to a 4, or a XS-S; my jeans are a 25in waist, but I'm actually at like 27" and a pattern tells me that means I'm actually a size medium? (Except for my chest, that's still almost universally an XS, go figure).
_I poorly photoshopped this meme just for you!_
However, Hey Cut Sew makes it a lot simpler. I downloaded a free QR scanner (which had ads, but what can you do) and it brought me to a page with a handy guide on how to take measurements, and then a dropdown menu where I could enter in my measurements. Once I did that, it told me in no uncertain terms what size pattern I should use, simplifying my life quite a bit and saving me some time.
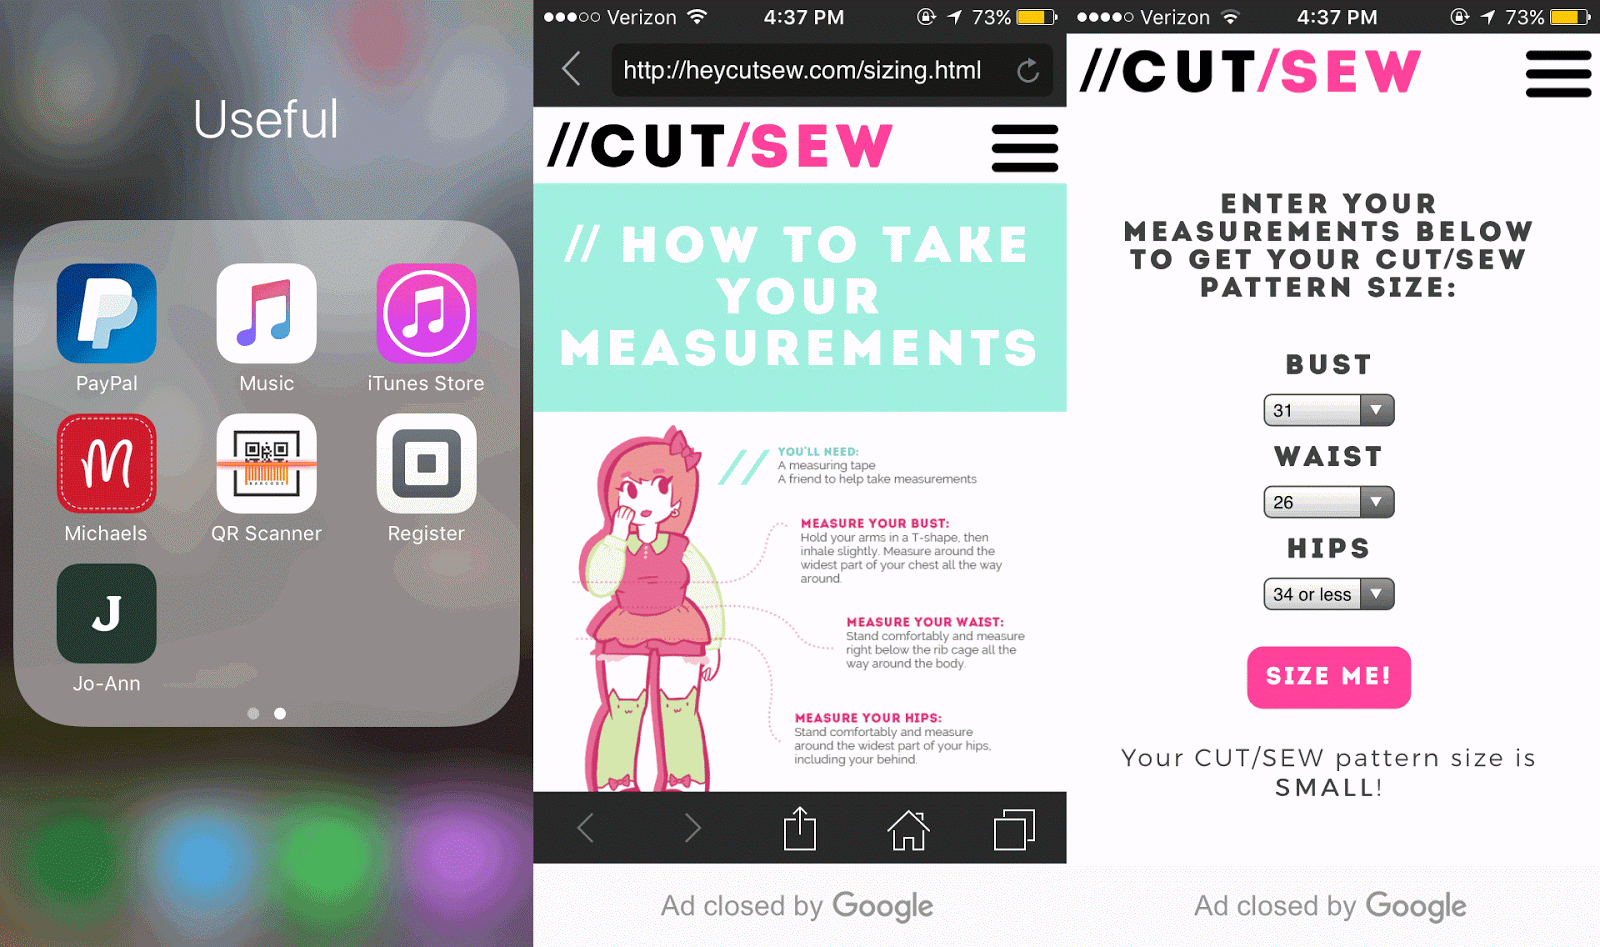
_And now y'all know my measurements._
So you have your measurements, and you're ready to move on to the pattern itself. I don't know about y'all but my cats LOVE to crawl on my patterns while I'm trying to measure and cut. And that tissue paper is noncompatible with cat claws.
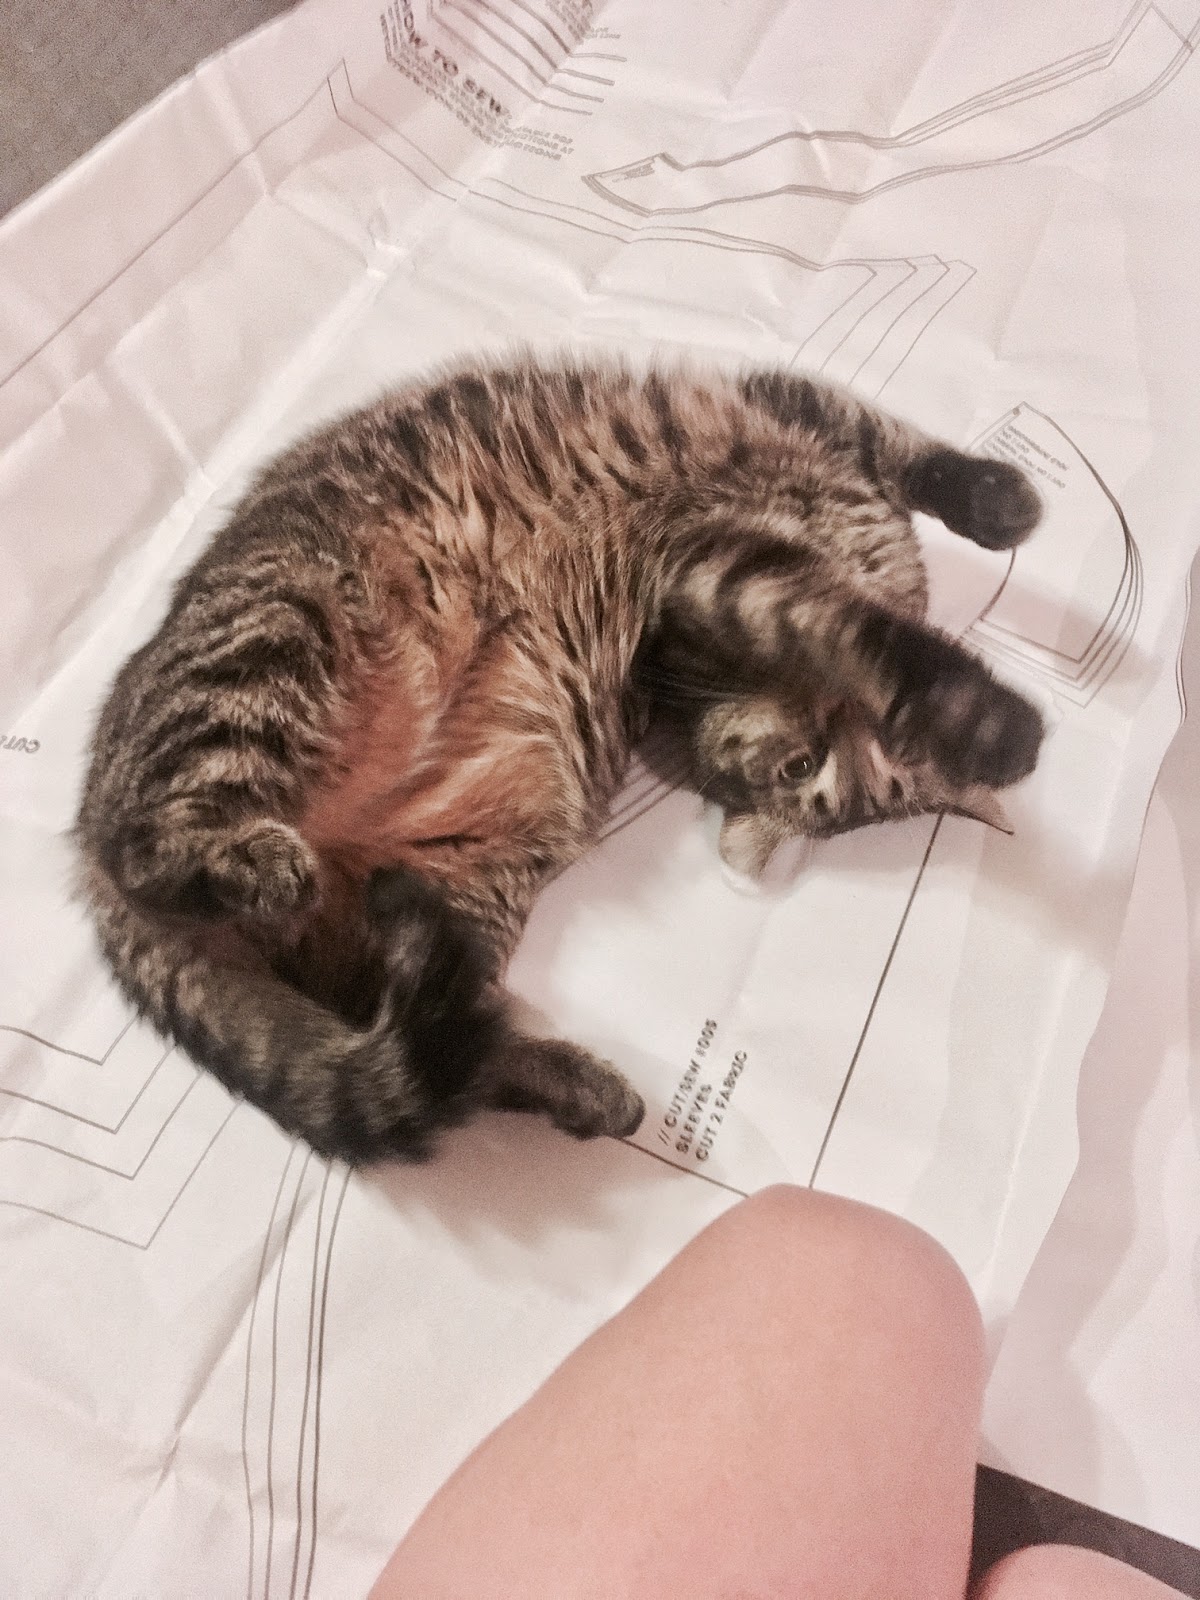
_Figure 1: Echo, aka "Special Boy"_
Hey Cut Sew's patterns are made out of a higher quality, thicker paper, which makes them much easier to cut without risk of tearing (or incidental cat damage) and re-fold, store, and re-use. These patterns aren't going to be destroyed by the simple act of looking at them wrong, and honestly, that's another thing I really loved about them.
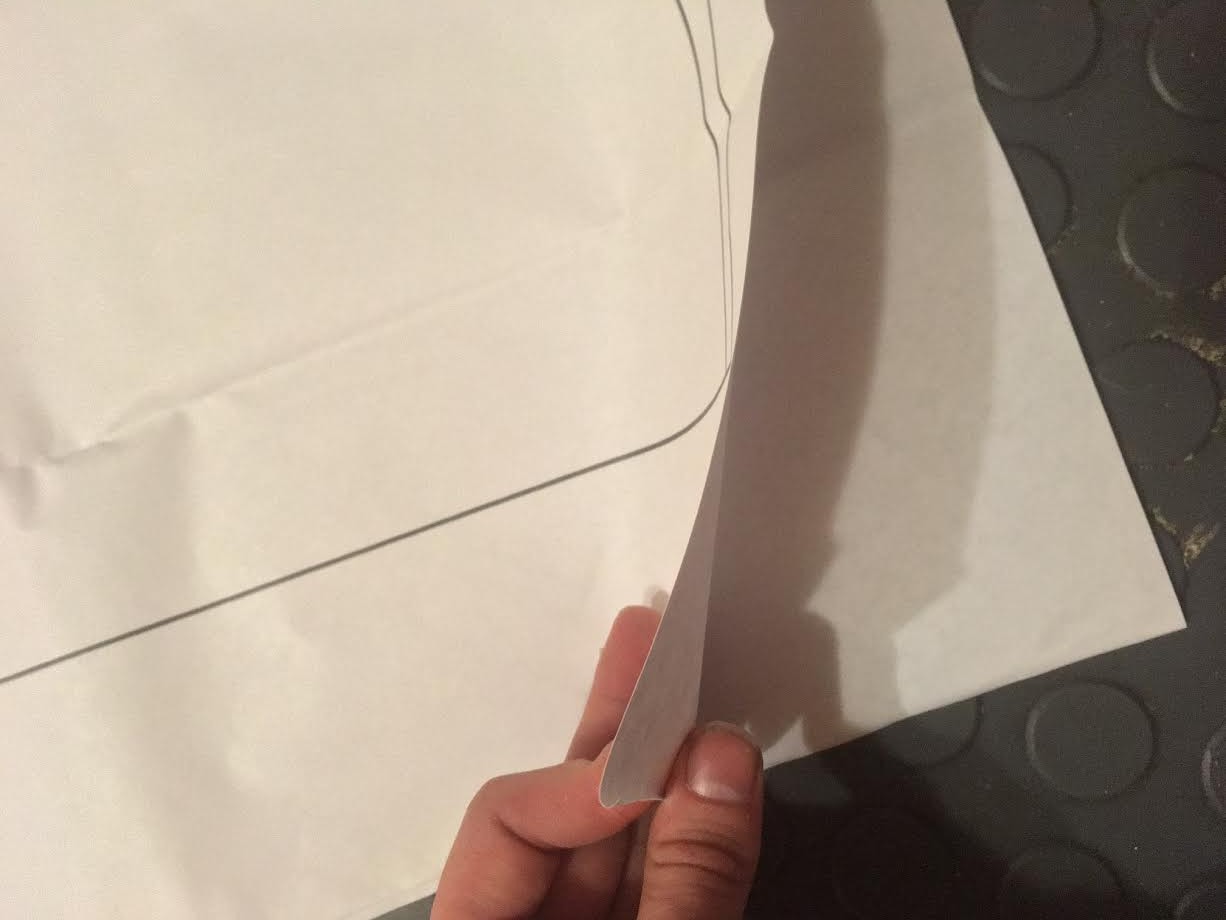
_It's not transparent!_
Something else that's interesting is that they make the pattern "color coded". I'll admit this was a cool idea, and something that I was initially really into although a few of the colors are a bit hard to distinguish between, and if your color perception isn't great, you might have trouble distinguishing between one gray and another
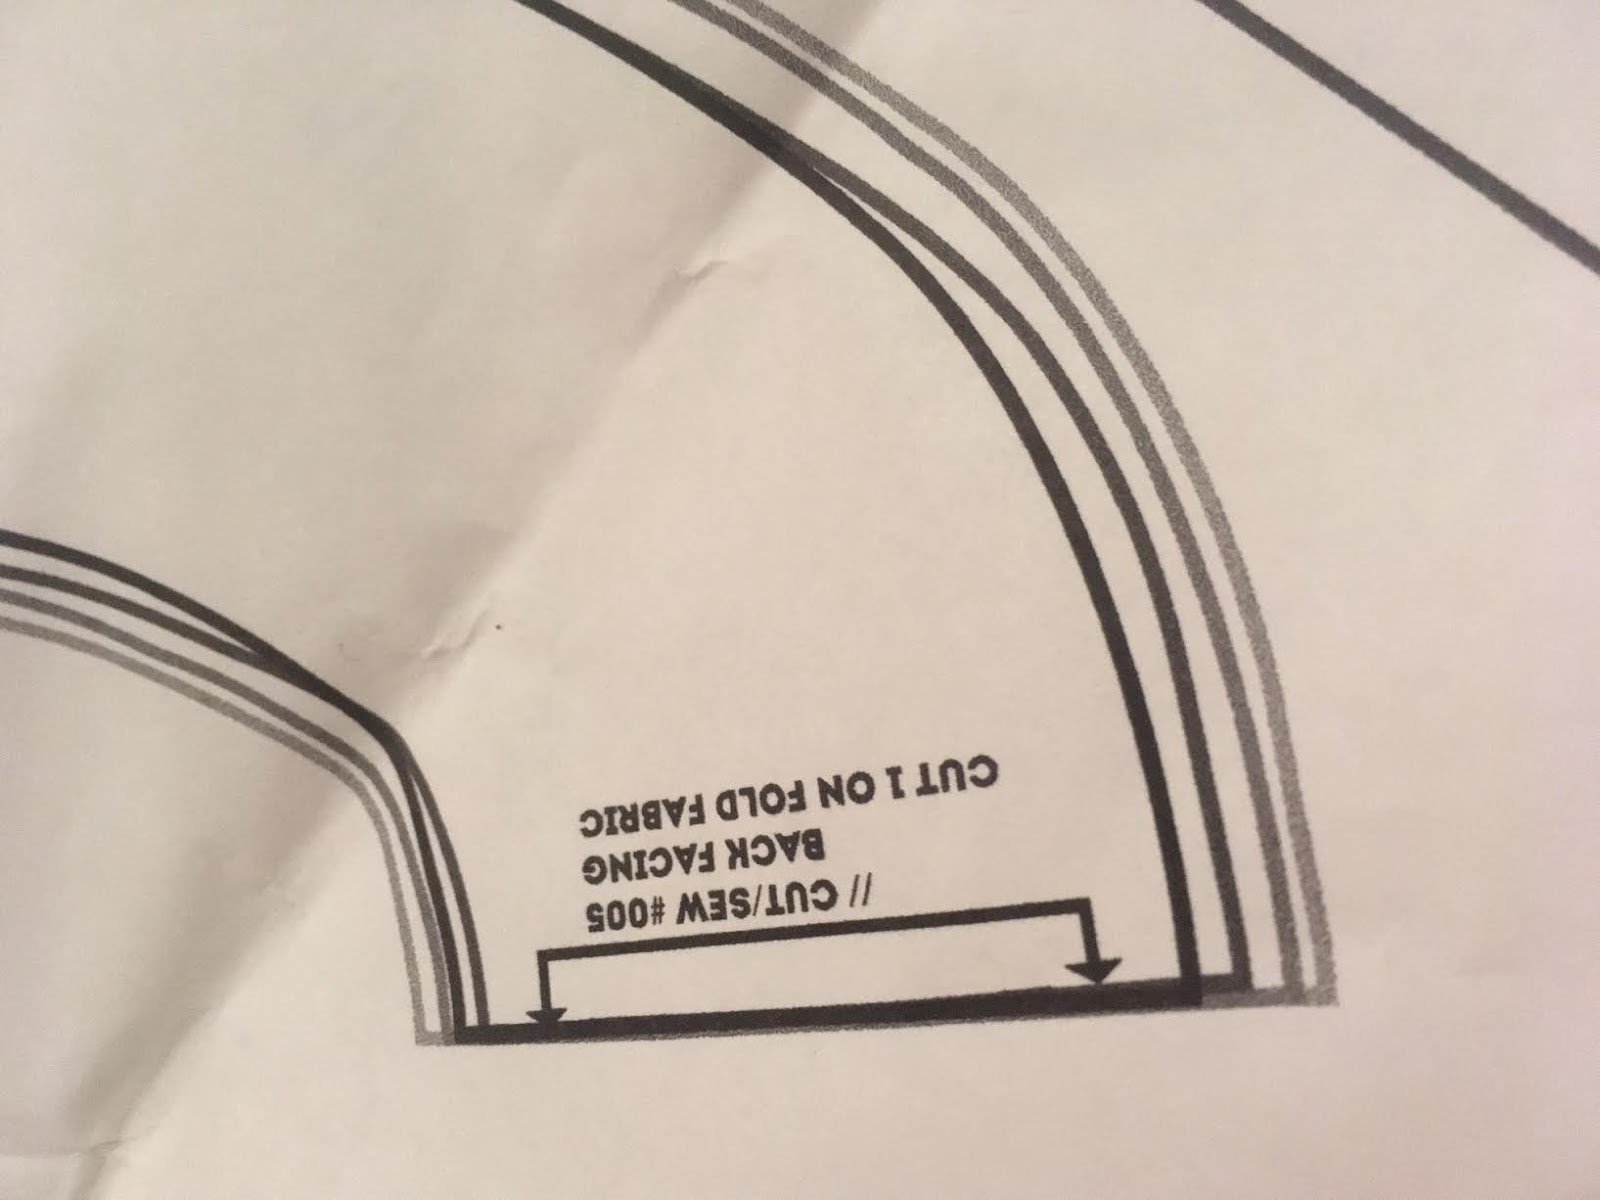
_Black is S, Dark Gray is M, Medium Gray is L, and Light Grey is XL_
There is one potential problem I had with this system though. Even though I SWEAR I cut out the right size of all the pieces, I had an issue where the two side back panels didn't match up quite right to the center back panel; they were both quite a bit longer than the center panel no matter how I lined it up. I'm willing to concede it's possible that I cut out the wrong size because I confused a Dark Grey line with a Black line, but I think that does, again, expose something that might be an inherent weakness with this system, meaning the lines may need to be more clearly color-distinguished.
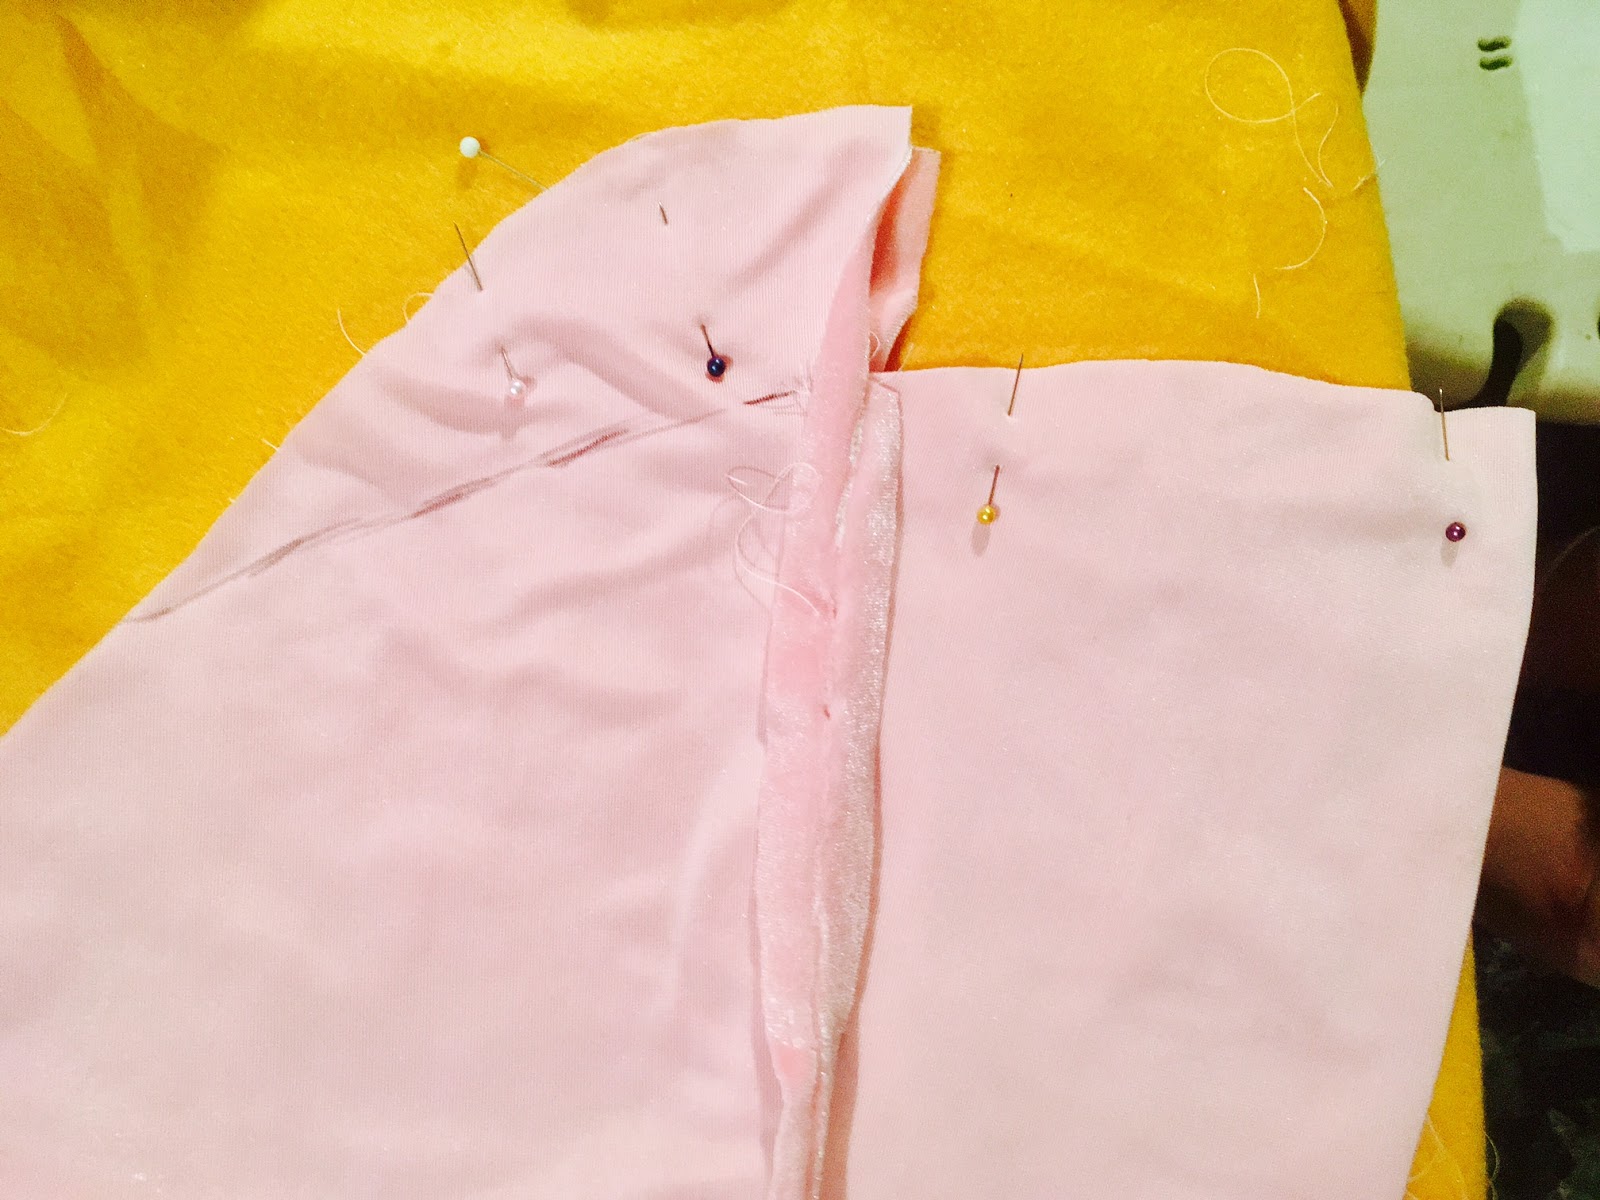
_The side panel was much longer than the center panel it was supposed to line up to. I drew in a line and cut there._
The corner of the pattern gives a link to a PDF document you can look at online, or print out, to use with your pattern. I think this is a really awesome idea, because it saves a few trees, and makes your instructions a little more portable. I mean they're portable to begin with, but now they're ON MOBILE! The instructions themselves are written in a simple, conversational tone, and stray away from using overly-technical language, but when they do, they actually do a pretty good job of explaining what they mean and giving further instruction. For example, thanks to Hey Cut Sew, I now know what French seams actually are, and how to do them! Here's an example of the gist of how their patterns go; I'm not going to show you the whole thing because gosh darn it, I don't want to give away too much!
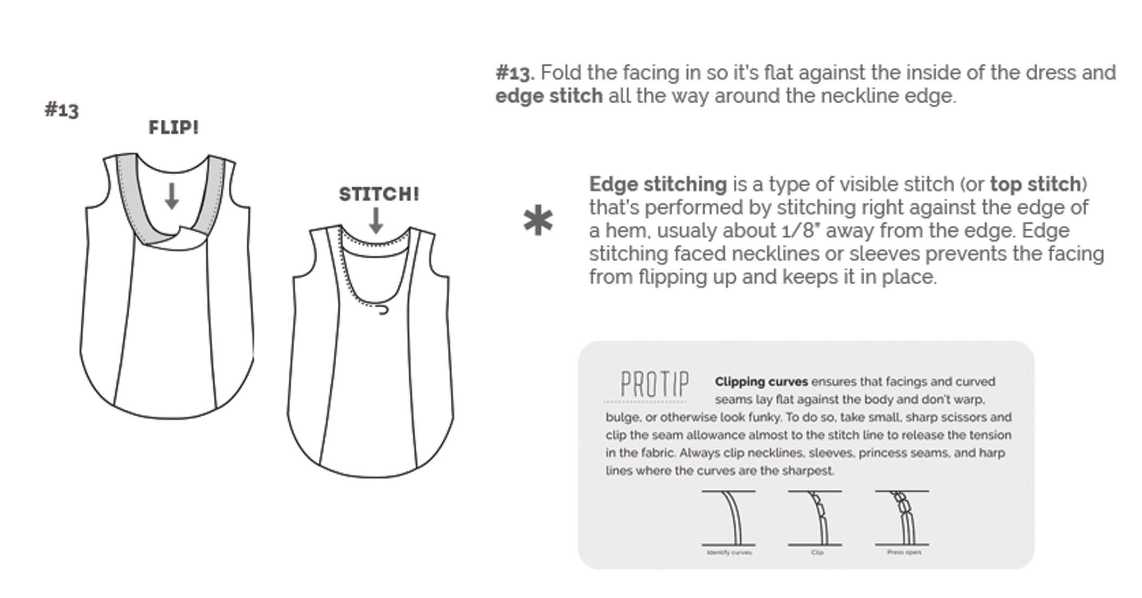
As I said, the instructions are pretty easy to follow, but I did find a few places where they were less than clear. For example, in one place, the illustration corresponding to the instructions on how to make the sleeves neglected to shade in the "wrong side" of the fabric, which isn't a huge deal and I figured it out on my own, but it still stood out to me because they had so consistently pointed it out throughout the rest of the pattern.
_Which side is the "wrong" side of the fabric??_
Also they included a certain yardage of ribbon needed for the back of the dress, and at one point it referred to your "four pieces of ribbon". I ended up just taking the total yardage and dividing it by four, again, not a big deal, but it had me searching back through the pattern, wondering if I'd misread something somewhere, where it told us to cut the ribbon; and if I missed that, what if I'd missed something else important?! These are minor nitpicks, but I figure worth mentioning.
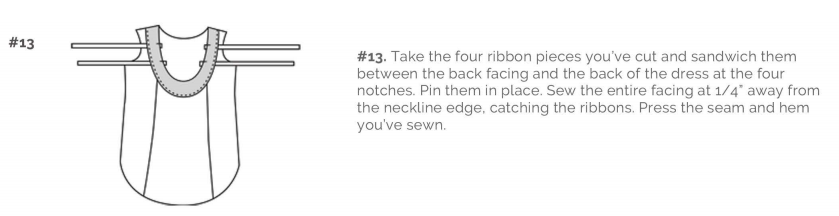
_Also, this is the second step #13 somehow._
A bigger thing for me was the recommended yardage of fabric for the dress. As I mentioned above, according to the measurements from their sizing system, I'm a size Small. As you can see on the notions card above, the garment called for 4 and 1/4 yards of fabric. That was...like way too much. I don't know if I didn't lay out the fabric in the way the pattern makers intended, but I have EASILY enough fabric leftover to make another dress of the same size (anyone looking?) It isn't necessarily a big deal, since I got the fabric cheaply on sale with a Joanns coupon but depending on what fabric you're using, that price could add up quickly, and also, it's kind of a pain to have that much extra fabric lying around (good thing I have a project idea for some of the leftovers already!)
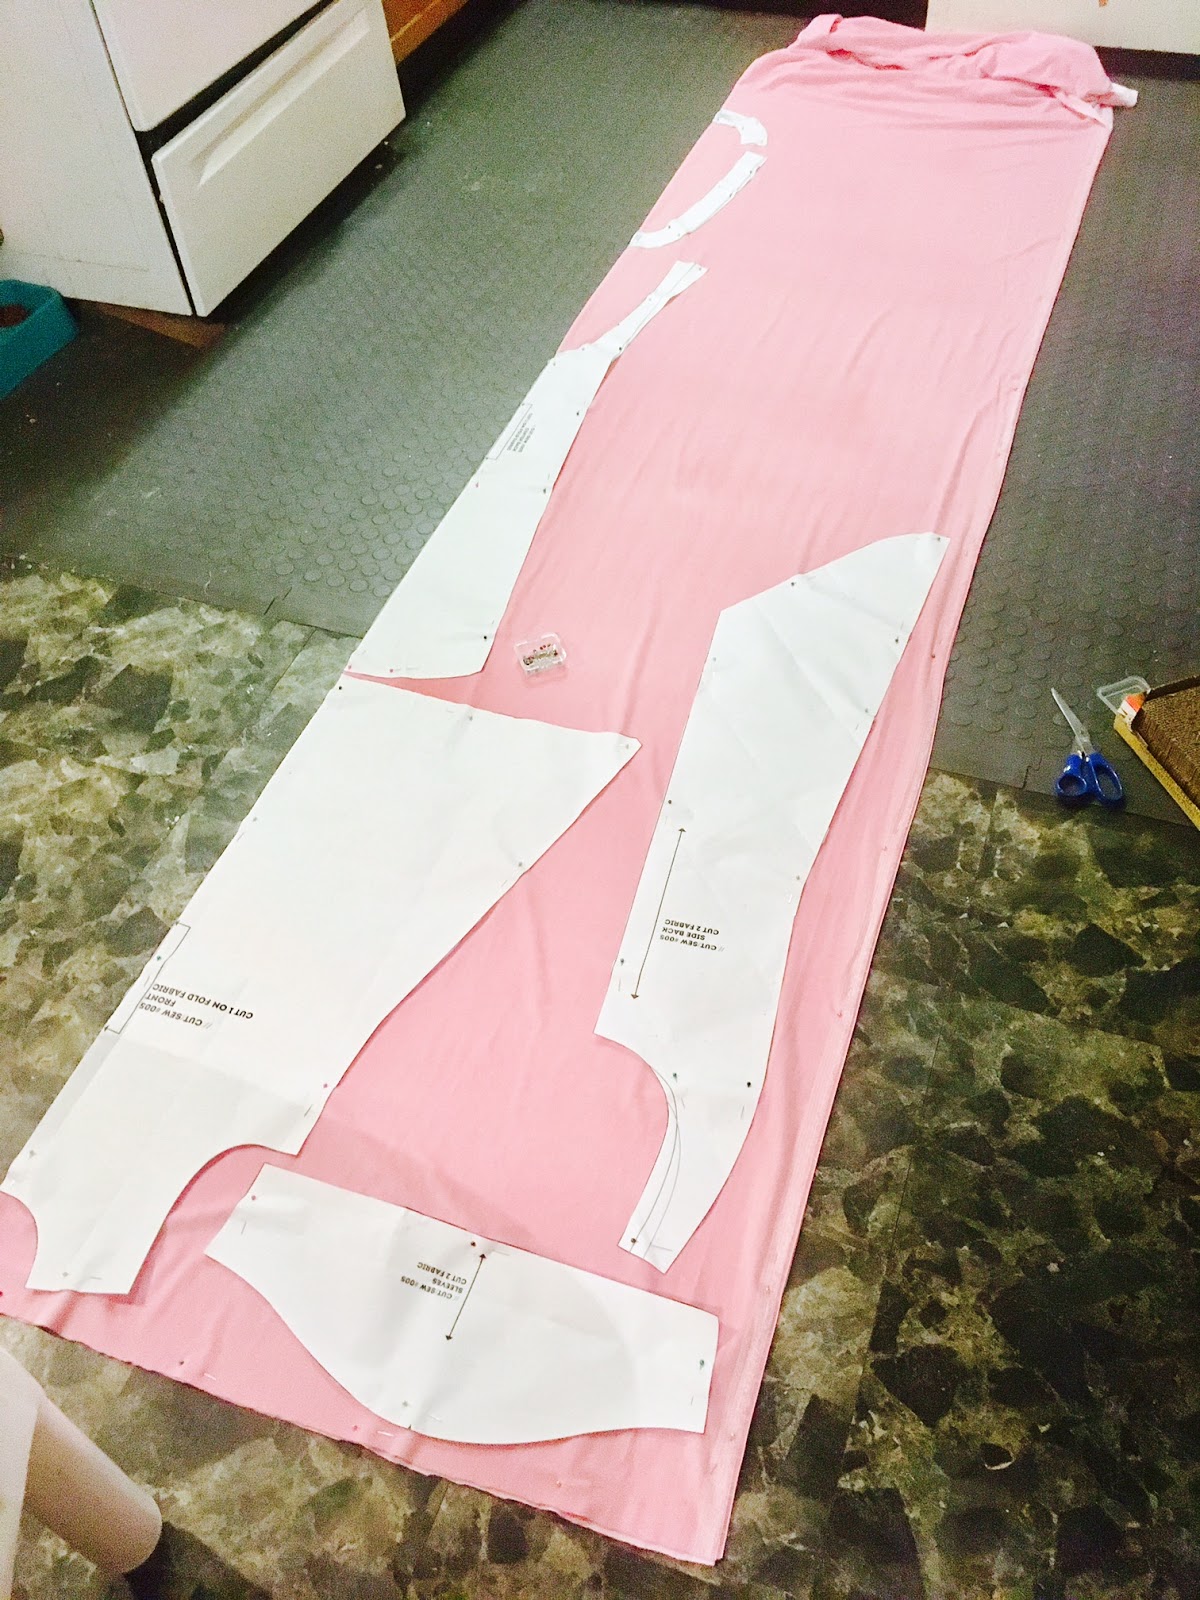
_That's a lot of extra! There is AT LEAST another yard piled up at the end there._
If I may take a minute to talk about my experience making the dress outside of the pattern, I decided to make the dress out of velvet. NOTE: Velvet is definitely not one of the suggested fabrics for this pattern! I wanted to take a stab at playing with a simple, casual pattern and trying to find a way to dress it up a bit, and thought using something like velvet was a good way to do that. I also knew I was going to be attending a holiday party in about a week, and thought it would be fun to wear the dress to a fancyish party. However, I'd never sewn velvet before, and it was definitely trickier than I expected! Many of the setbacks I experienced were due to me being a velvet noob.
There were multiple times I had to rip out seams and resew things, and I tore a few holes in a few places, for sure. It honestly reminded me a lot of the first time I sewed using 4 way stretch fabric, making the leotard for my Sailor Neptune cosplay. That was a truly soul-crushing experience, but I did eventually get it to work, and knowing how to wrangle the spandex was actually quite helpful with the velvet.
Another issue I came across is that velvet is a thicker fabric than what the pattern suggested, so where the interfacing has rolled seams, it's occasionally visible through the top layer of the dress, if it's laying flat on my chest. That's my bad, but also I think I can press the seams flat enough so it's less of an issue.
My biggest d'oh moment was when one of the pieces, I didn't lay in accordance with the grain of the fabric. Like, I totally thought I was doing everything in the same direction...but I definitely wasn't. Which made me almost have a heart attack once I realized. The only piece that is grained in the wrong direction is the center back piece, and it almost sort of looks on purpose? (or at least that's what I'm telling myself!) So, I'm not too broken up.
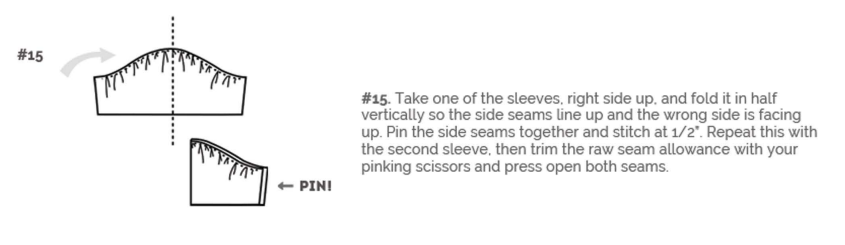
I also had kind of an issue trying to sew the gathered sleeves; I didn't know how much to gather them, like, a lot or a little? So I'd gather the sleeves into what I thought looked like a delightfully ruffly flounce but then it would be too small for the arm hole and I'd have to try and go back and let out the gather, but more times than not one of the pieces of thread would break and the gather would start to fall out on its own by the time I started sewing it. I ended up with just the smallest gather at the top of the sleeve at the shoulder seam, and I ended up literally pinning each small pleat/ruffle of the gather into the sleeve and stitching it down there. It isn't the pattern's fault for not specifying how much or how little to gather, but I definitely felt like it ended up being way more frustrating than it needed to be.
All told, including breaks to take photos and notes for this review, tea breaks, internet breaks, and all the time I spent ripping seams that I ganked the first time, the dress took me like 8 hours to make; working on it one evening and then finishing it the next day.
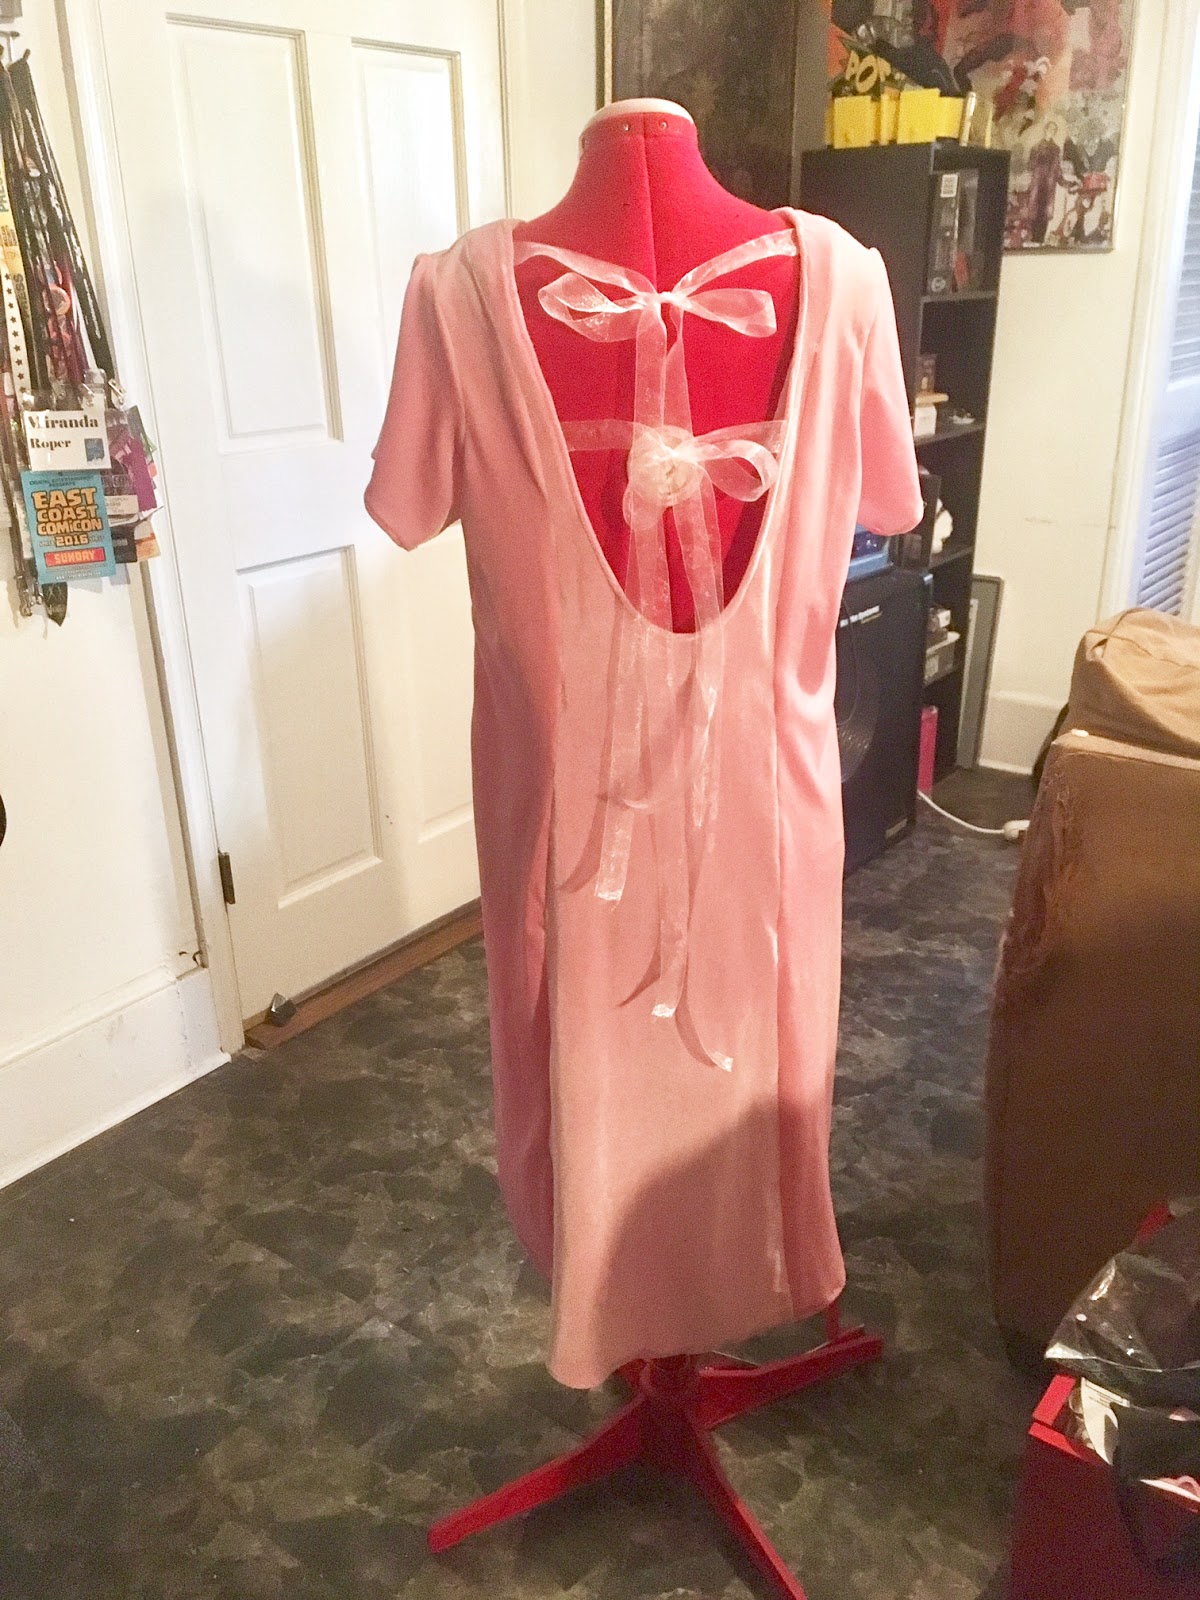
_Back view_
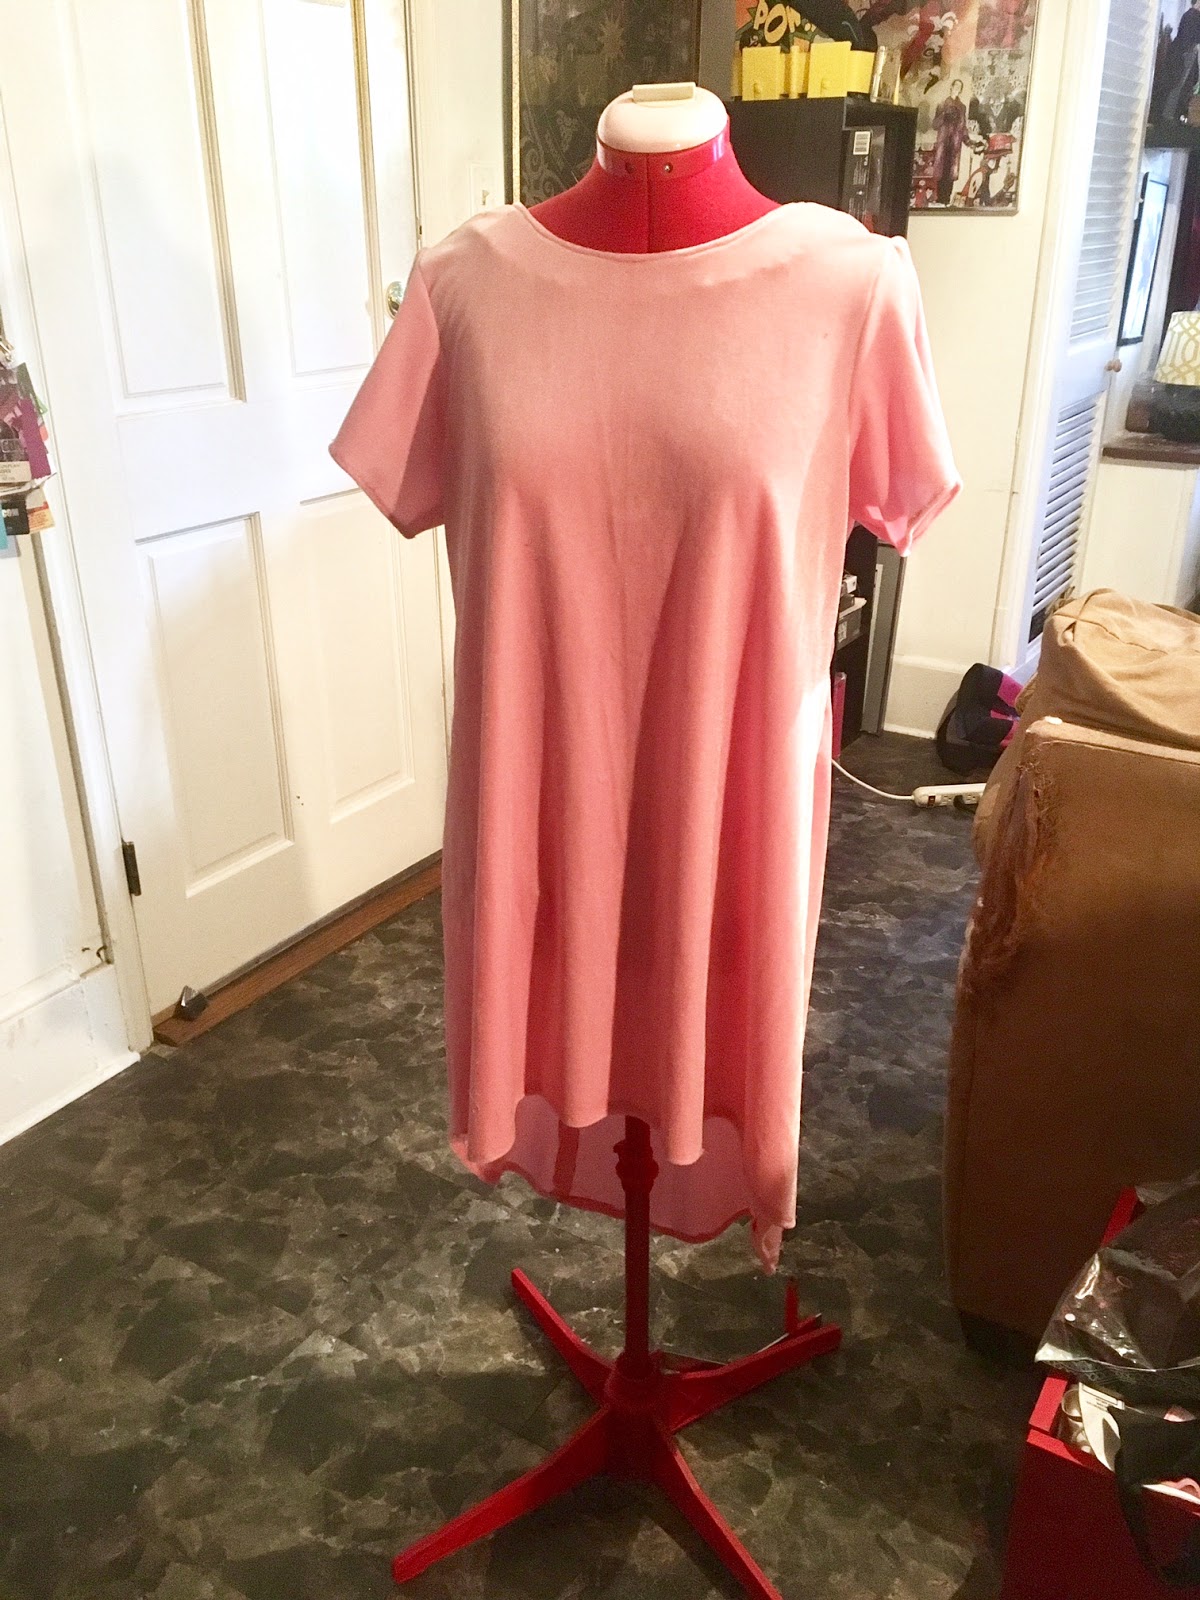
_Front View_
All in all, the whole experience was one of great learning! I got to try out a totally new kind of pattern by a group of people who I truly feel are on the right track to doing something really great, and are doing The Lord's Work. I got to try out a few new sewing tricks that I didn't know before, I got to use a new fabric, and experience all the highs and lows that come with that, and at the end of the day, I have a dress that I feel is really versatile; I feel equally as comfortable wearing it around the house (which I promptly did after I finished it), as I would wearing it to work, as I would dressing it up with the right shoes and accessories for a party.
Based on my experience, I give these patterns an 8/10: they have really useful and creative tools that I really do believe are useful to people of all skill levels, and a great selection of fashionable and functional styles, but a few minor inconsistencies in the pattern (skipped steps, repeated step numbers, missed shading) as well as a few odd things like the excessive amount of fabric needed and the possible line/size color issue, are making me deduct a few points. I feel like I'm being overly critical or harsh and mean, but that's because I really, REALLY like this company and what they're doing, and I really want to see them do well and take off! I want to try another of their patterns too; I really have my eye on the classic seifuku, like I said, and I SUPER wanna try their kigurumi pattern!!
To round off this review, here is a bunch of pictures of me in the dress; thanks to fellow Glitch Pulp Added for taking them!
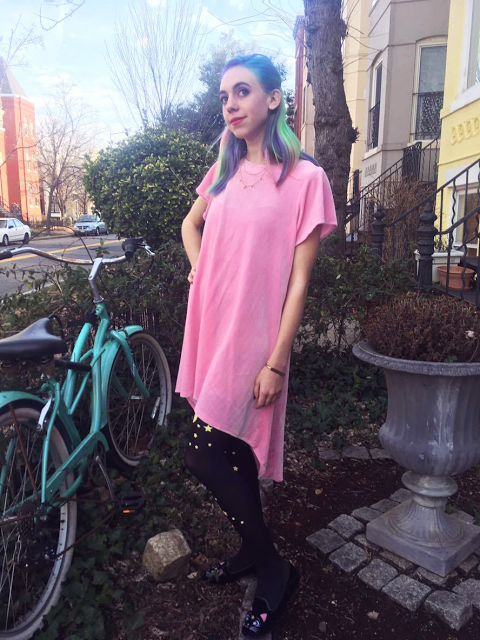
_Comfy for a day of running errands and working around the house!_
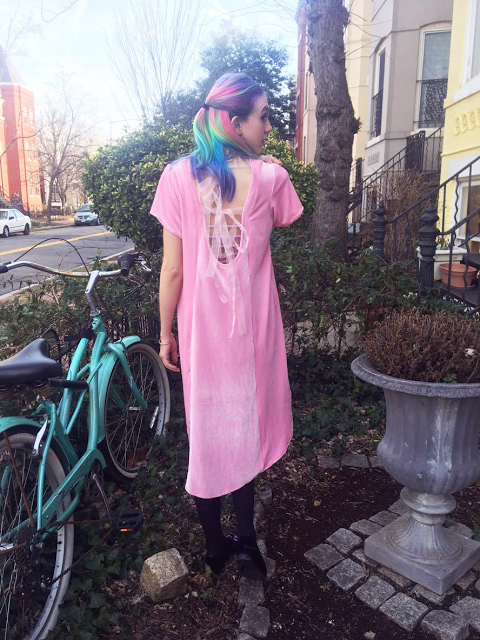
_Full length from the back!_
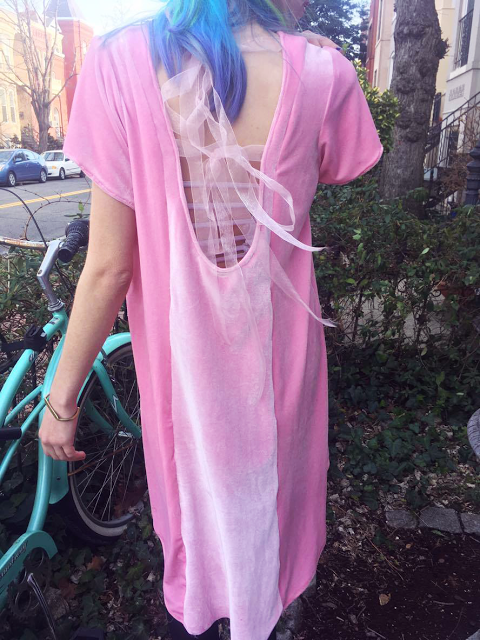
_Closer look at the back_
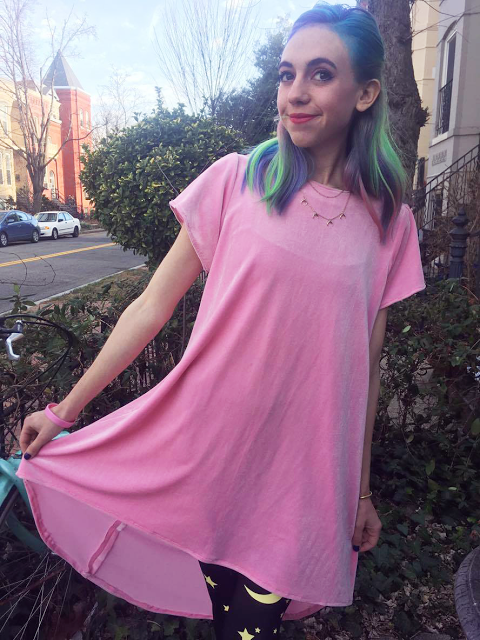
_Ta-Da!!!_
Again, this pattern and more can be found at HeyCutSew.com!
